How to build hojo-undo tools #5: Makiwara
/This is the fifth in a series of blogs about how to build hojo-undo training tools (you can find the first four here: chi’ishi, sashi-ishi, ishi-sashi, and tan).
Once again, I must start by giving credit to PJ Turnbull for building all of the tools in this series - without his skills and innovation, none of this would have been possible.
This time we will look at how to make a makiwara.
The makiwara (巻藁, literally meaning ‘wound straw’) is a fundamental supplementary training tool for any karateka. Contrary to popular western belief, the main purpose of a makiwara is not just to toughen one’s fists and build calluses on one’s knuckles; rather, the main purpose of makiwara training is to learn how to generate power effectively.
Below are photos of Chojun Miyagi-Sensei, and Ei’ichi Miyazato-Sensei, and Tetsu Gima-Sensei with makiwaras.


In Okinawan karate dojos, makiwara are often installed directly into the dojo floor, usually concerted in a metre or so below the surface for stability (see pictures of the Jundokan’s makiawara below as an example).
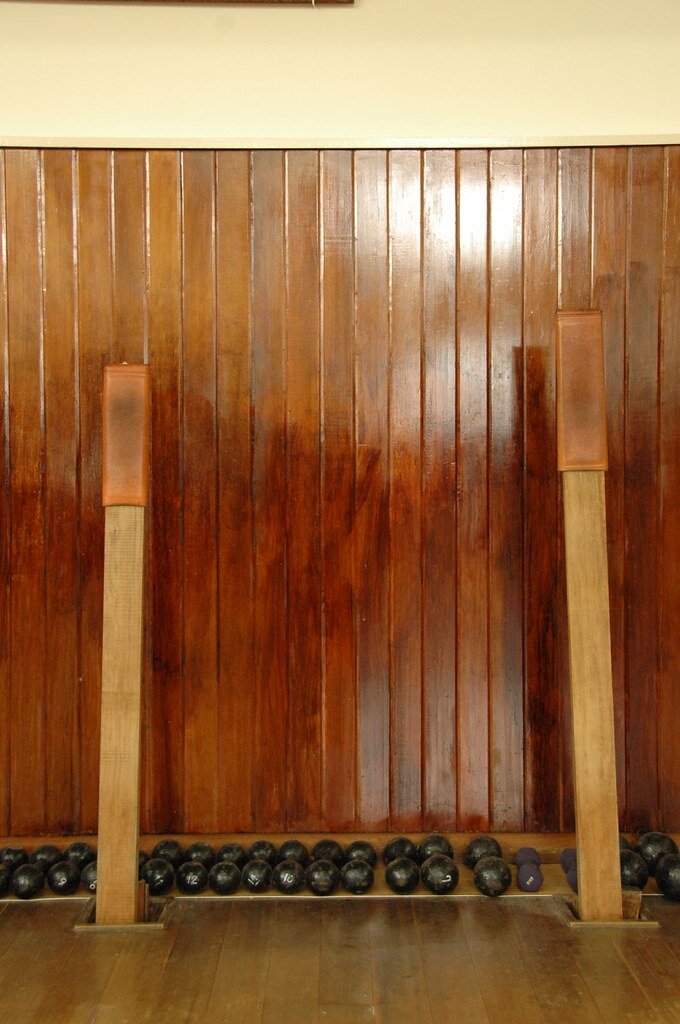
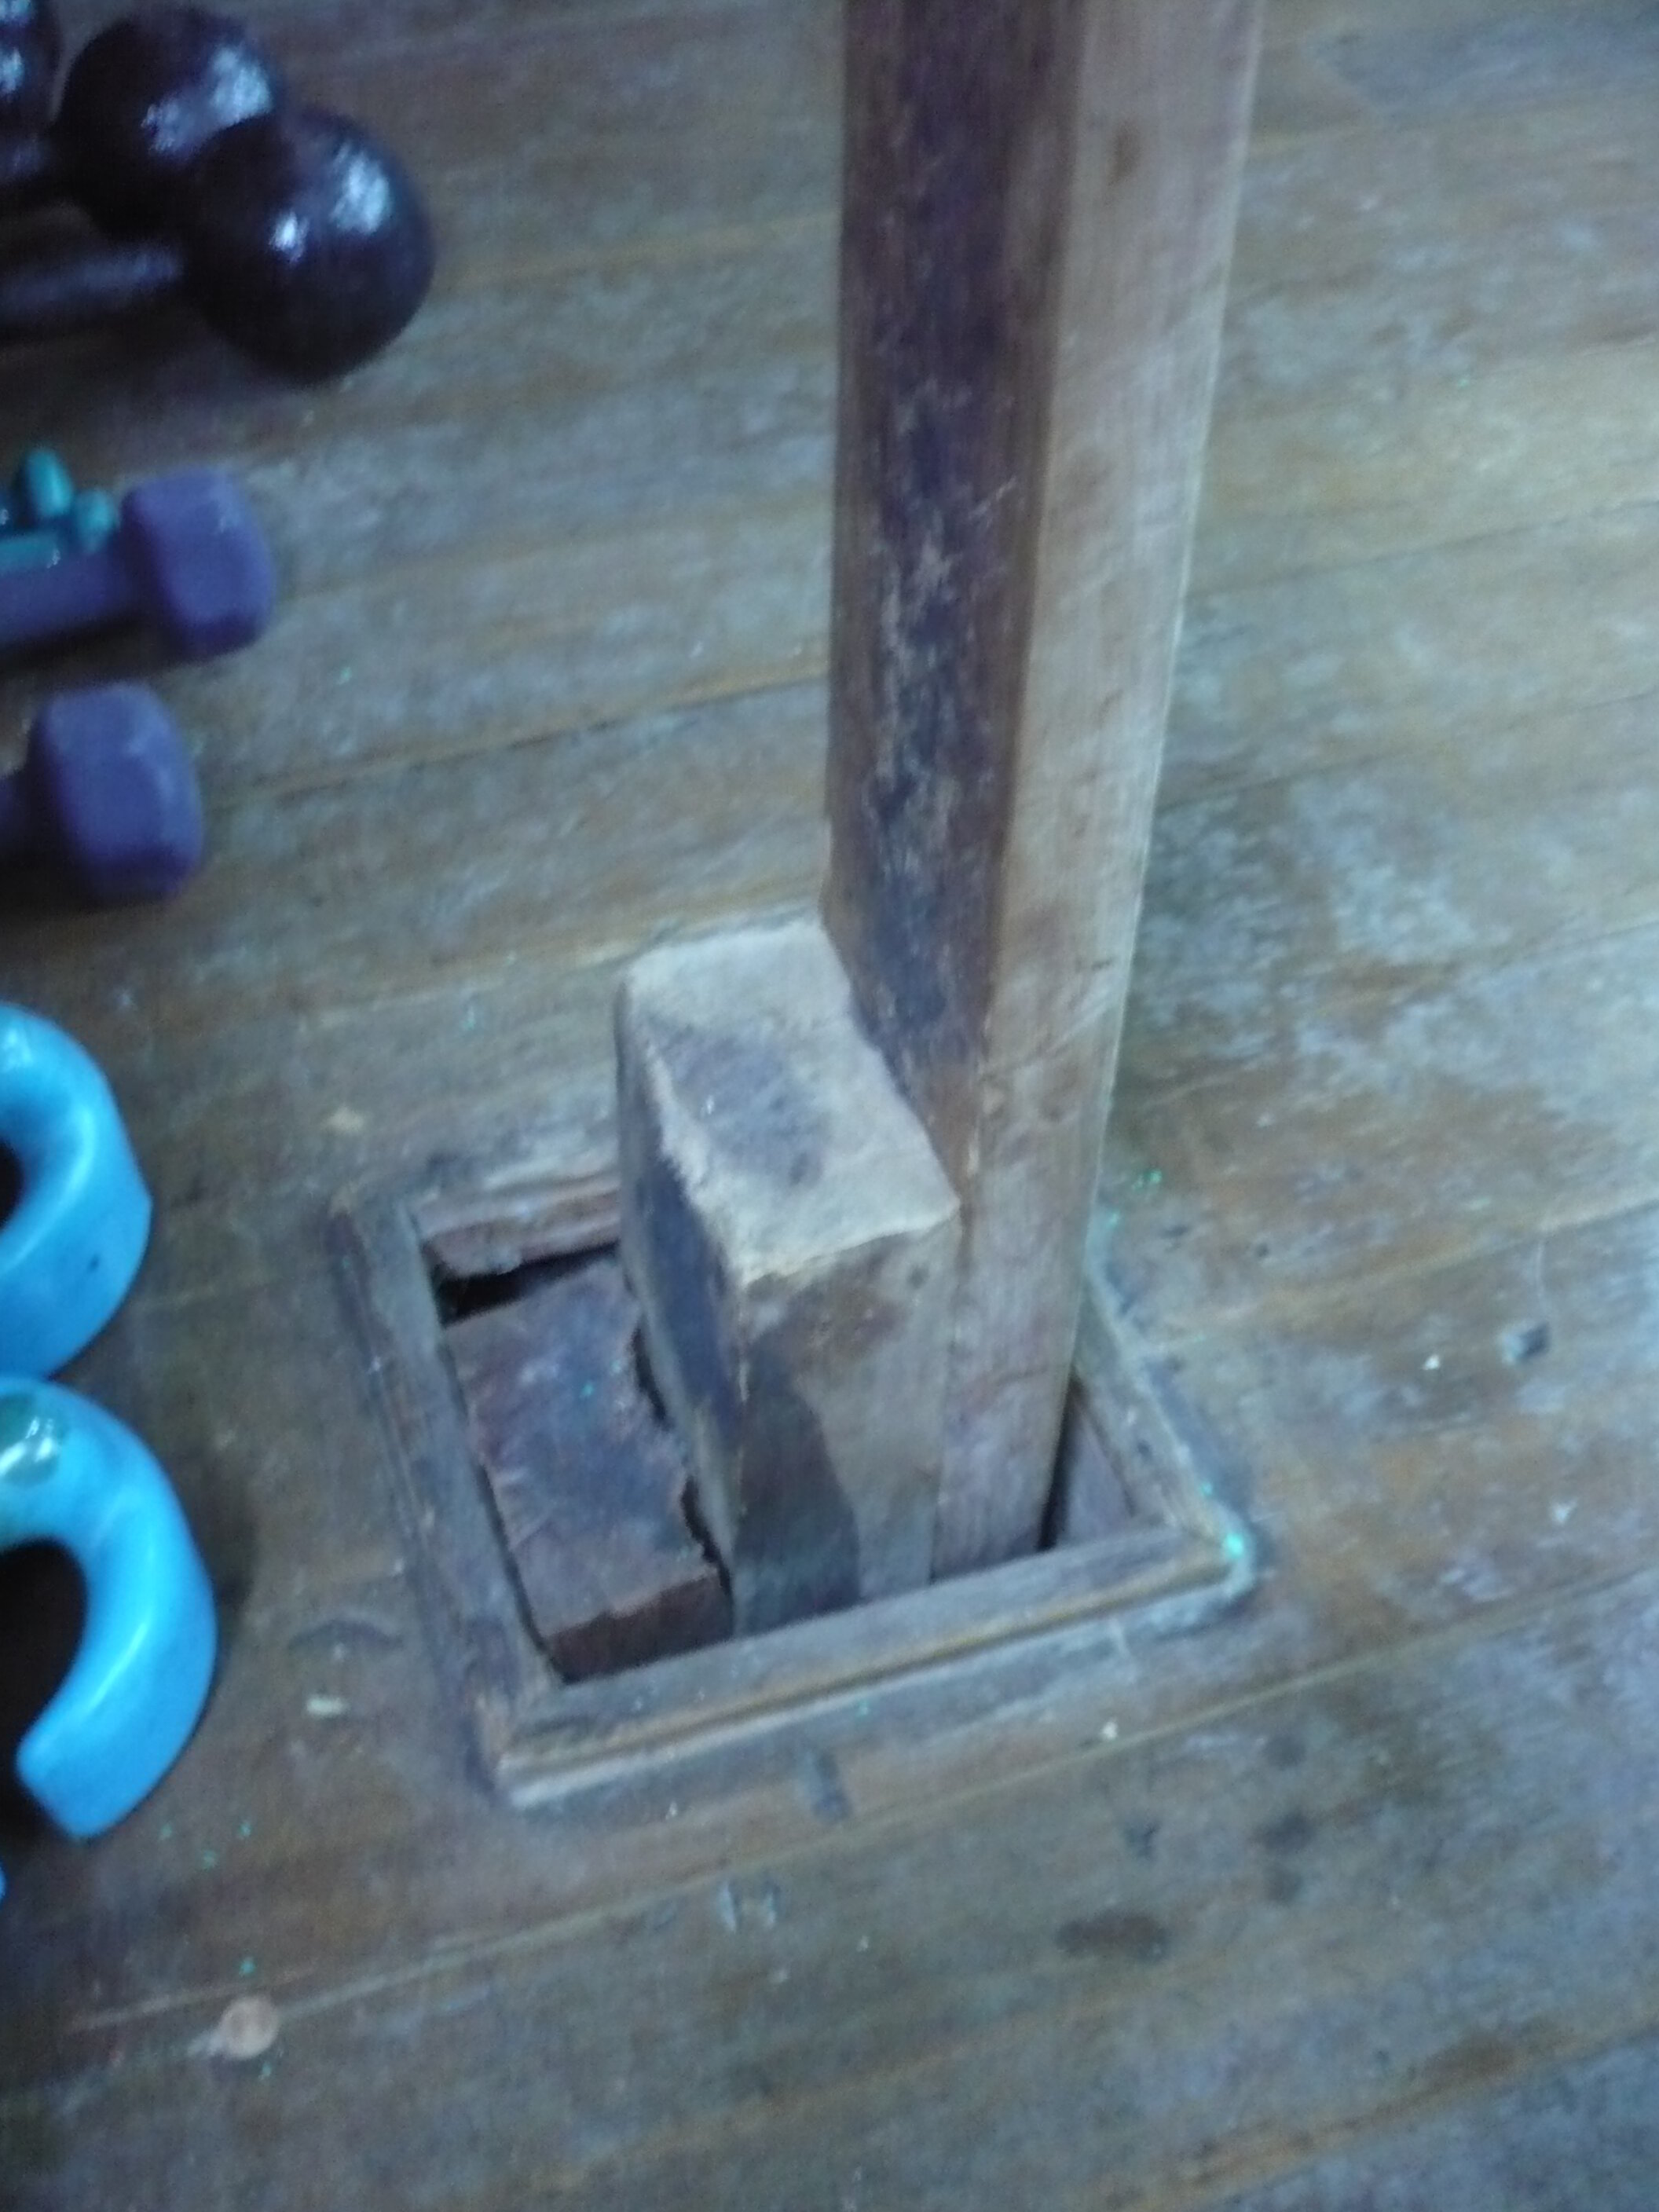
However, particularly for those of us who do not have a permanent dojo space, and perhaps rent local halls instead, it is not always possible to install a makiawara in this way.
The purpose of this blog post is thus to provide a step-by-step guide of how to produce a portable, stand-alone makiawara for use in more temporary dojo spaces.
I will explain how to build two different types of makiwara: one from a single piece of timber (creating a more sturdy makiwara), and one from multiple pieces (creating a more flexible makiwara).
Note: given that a solid base is required that is not built into the floor, there is unfortunately no ‘simple’ option that can easily be made at home. This guide thus utilises a metal base holder that was welded together.
Makiwara 1: A Single Post
Materials:
Wooden post (1500mm tall x 95mm wide x 95mm thick)
Large wooden board (2400mm tall x 1200mm wide x 18mm thick)
Padded cover
Steel frame holder (100mm x 100mm, 220mm tall)
Steel frame foundation (400mm 400mm)
Method:
The makiwara is essentially a tapered post with a stable base. The strongest way to make this is from a single piece of timber, which I will explain below.
① Start with a slightly longer piece of solid timber (the height can be shortened at the end if necessary), approximately 1500mm tall x 95mm wide x 95mm thick.
② First, put the timber through a planner machine to ensure a consistent thickness along all surfaces.

③ Next, you must decide the desired thickness for the tapered top. I would suggest a thickness of 20mm.
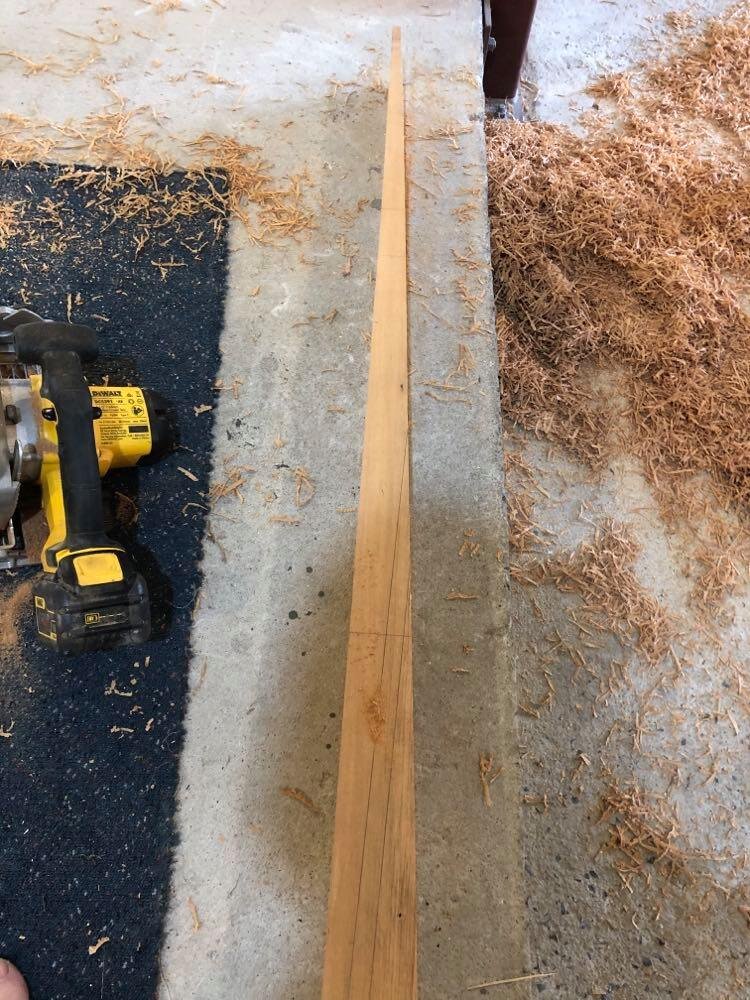
④ Turn your post on its side and, using a circular saw, cut a gradual line from your 20mm tapered top to the opposite corner of the base.

You will (should!) be left with a nicely tapered post like this, where the bottom is 95mm narrowing evenly to 20mm at the top:


⑤ For the base holder, you will need to weld a frame out of steel, consisting of a square slot (100mm x 100mm, 220mm tall) connected to a flat foundation (400mm x 400mm).
Note 1: Because of the thickness of the steel, the size of the square slot on the inside will be approx 95mm.
Note 2: Position the frame towards one end of the steel base as this will add greater stability later when it is inserted into the wooden base.

This is by far the most difficult part of the process, and is perhaps the only part for which professional help may be required if you do not have welding materials, tools, or skills.
⑥ Take your large wooden base (2400mm x 1200mm) and sand it down to ensure it is smooth and safe to stand on.
⑦ Cut your board down to 1500mm x 900mm, which will be the ‘top’ base, and put the left over pieces aside. These will be used to build the ‘bottom’ base later.
⑧ Cut a square hole in the top base the same size as your steel square slot (100mm x 10mm), and insert the frame from underneath.

⑨ With the left over pieces of wood that you set aside in step ⑦, create another sheet of wood 1500mm x 900mm that will be the ‘bottom’ base.
⑩ In the bottom base, cut a shallow hole the same depth as the steep frame foundation that you made in step ⑤ (400mm x 400mm). This will be used to cradle the steel foundation when the top and bottom bases are merged to avoid any unbalance.
⑪ With the steel frame in-between, sandwich the top and bottom bases together with glue, and connect them with screws for strength. This will produce a single base, 1500mm x 900mm, and 36mm thick (2x 18mm).
Note: It is best to insert the screws from the bottom up so that they cannot be seen from the top.
⑫ Add a leather pad to the top.


Although Makihara were originally wound with straw to soften the punch and protect your hand, nowadays it is more common (and indeed more hygienic, according to Gima-sensei of the Jundokan) to use leather pads. I would recommend one like this from Shureido.
⑬ Insert the makiwara into the steel holding frame.

⑭ Start training.

Makiwara 2: Multiple Posts
Materials:
Wooden posts (all 95mm wide x 18mm thick)
1x 1500mm tal
1x 1150mm tall (tapering from 800mm to 0mm at the top)
1x 700mm tall
1x 300mm tall
1x 200mm tall
Large wooden board (2400mm tall x 1200mm wide x 18mm thick)
Padded cover
Steel frame holder (100mm x 100mm, 220mm tall)
Steel frame foundation (400mm 400mm)
Method:
Many of the steps involved in the the multiple post method are the same as in the single post method, so I will simply cover those that are different here.
① Combine all of the wooden pieces in descending order with strong glue, and hold together tightly with clamps overnight (24–48 hours).

② Once they have been combined, you will (should!) be left with a multi-multi-layered post like this:


③ As with the single post method, you will need to weld a base holder frame out of steel (100mm x 100mm, 220mm tall).

④ As with the single post method, you will need to make a top and bottom base out of your 2400mm tall x 1200mm wide wooden board (each 1500mm x 900mm), between which you will sandwich your steel foundation and holder. Remember to cut a shallow hole in the bottom base to fit your 400mm x 400mm steel foundation to avoid any unbalances.
⑤ Insert your steel through the top board so that it is sticking out, and glue the bottom base on.

Remember to add screws from the bottom side up to avoid seeing them on the top surface.
⑥ Insert the multi-layered post into the base holder.


⑦ Add a leather pad to the post for protection.


While I would again recommend this one from Shureido, other options are also available, such as the one shown in the photo above.

⑧ Start training.

